

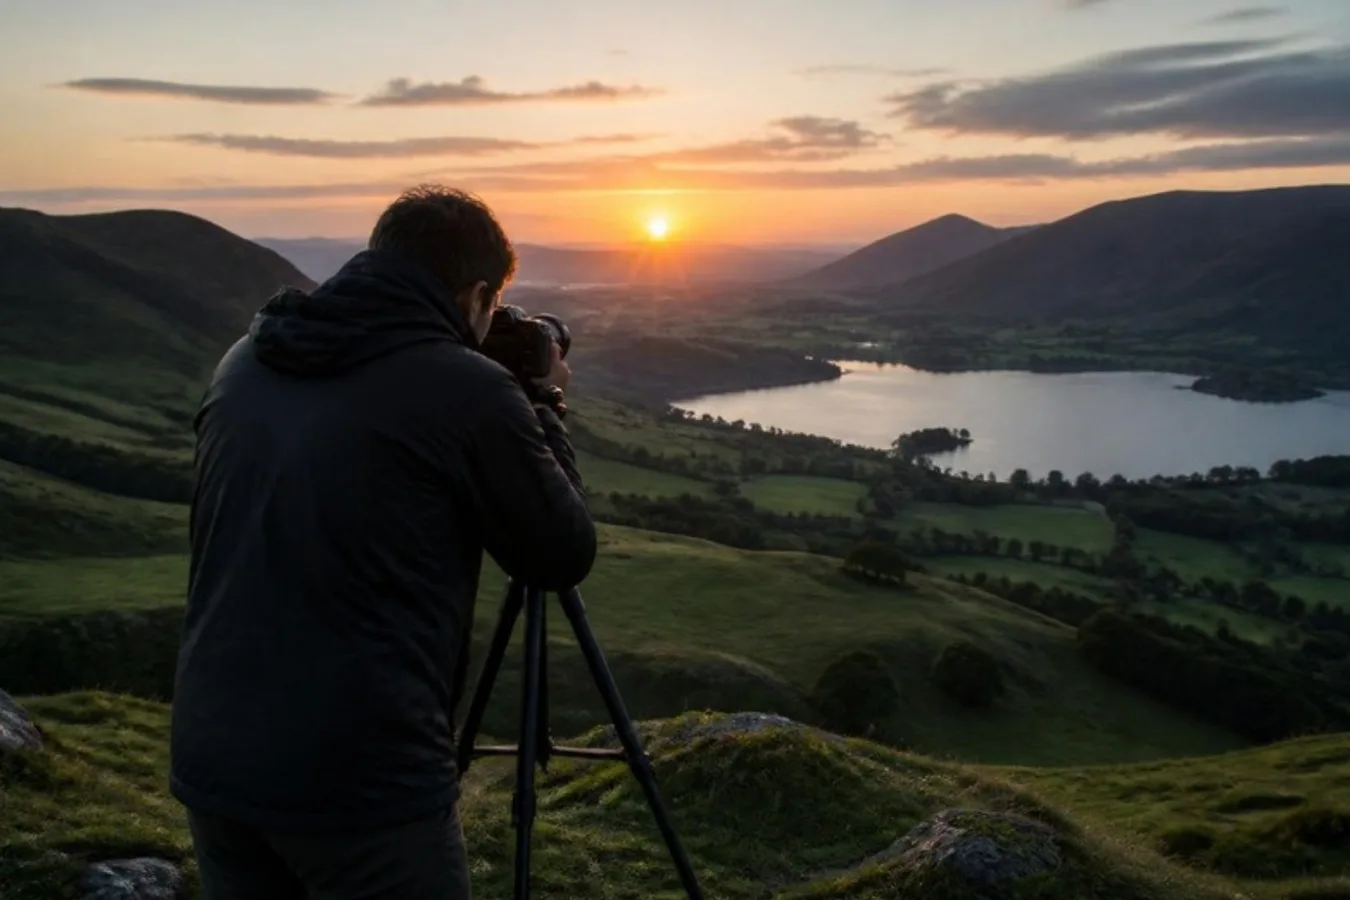
If you own a good mirrorless or DSLR camera and want to take your photography further, there are plenty of guides online. We've been looking back at some of our favourite landscape photographs, and we've put together a guide of our own for the budding Ansel Adamses out there.
Find the right location
Spend time finding your spot. With experience you'll get shots on the fly, but as a beginner it helps to plan. One location looks different from every angle, so pull on your walking shoes and wander until you find the best one.
In the countryside, take a map so you don't get stranded. A paper map is especially useful, because you can mark your favourite locations and note the angles.
Then work out the time of day. If the area is busy and you'd rather not have people in the shot, get up early and shoot at first light. If you want a setting sun, be prepared to come back every day until the weather is right. While you wait, take practice shots to settle your composition.
Take the right equipment
A good camera is not all you need.
- A tripod. The most essential piece of kit for a beginner, particularly in a windswept spot or for any shot with a long shutter speed.
- A remote shutter release. Pressing the button on the camera can cause slight shake, which blurs the image. A remote release keeps shake to a minimum.
- The rest. A waterproof camera case, spare batteries or a wireless charger, a fully charged phone and a flask of hot tea. You could be standing around for a while.
Find your focal point
Every photo needs a focal point, even a landscape. It might be a rock formation, a mountain, a tree, a building or the setting sun. What it is matters less than where you place it in the frame.
The rule of thirds helps. Divide the image into nine equal squares. Rather than centring your focal point in the middle square, place it along the lines around that square. The best positions are where those lines cross.
For a shot of the sea, line up the horizon with the top or bottom third line instead of letting it cut through the centre.
Increase depth of field
You can capture more of the scene in focus by increasing depth of field. Do this by choosing a smaller aperture: the smaller the aperture, the greater the depth of field.
A smaller aperture lets less light reach the sensor. To make up for it, raise your ISO, use a longer shutter speed, or both. With a longer shutter speed, the tripod becomes vital.
Be ready for changes in light
Changes in light can confuse your camera and lead to a poor photo.
- In bright sun the camera tends to underexpose everything in the frame. Use a wide-angle lens so the sun takes up less room, lower your ISO, use fill flash, or fit a neutral density or polarising filter.
- In low light do the opposite. Raise your ISO, use a larger aperture, slow the shutter speed and use your camera's exposure compensation.
Print it and hang it
Once you have the landscape shot you wanted, do something with it. We make picture frames to your exact dimensions, and if you've taken several good shots we can make a multi-aperture frame to hold them together.
Frames are dispatched within three days. Choose your style on our Picture Frames & Mounts page.