

The first Ikea opened in the UK in 1987, and homes have not been the same since. The Nineties and Noughties were all about pared-down minimalism. More recently the trend has been artful, vintage-inspired clutter: a home that is busy, cosy and warm, with well-chosen details. There are plenty of cheap ways to refresh a room, including wall stickers and art prints, but one of the easiest trends for 2017 is the picture wall.
What is a picture wall?
Exactly what it sounds like: an empty area of wall on which you hang an assortment of framed photographs. It takes a little more than hanging any photos in any arrangement, though. A stylish picture wall has an overall theme in which every photo and frame works with the others.
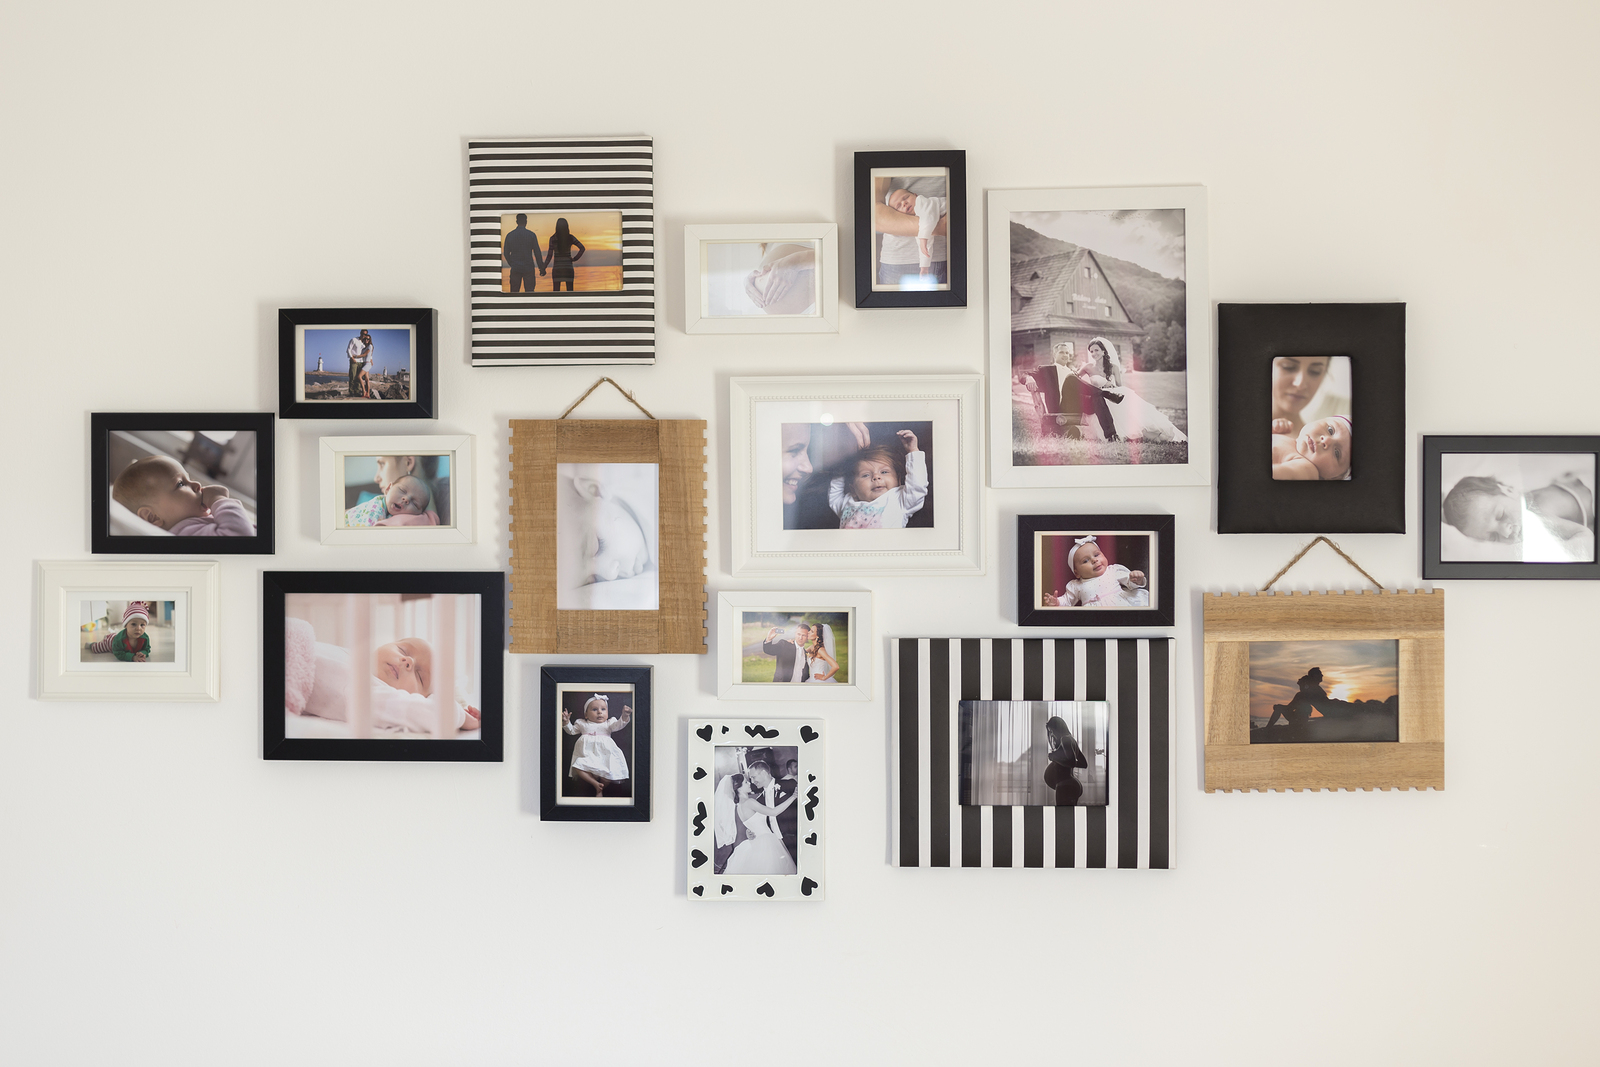
Choose your photos
Start with photos you want to look at every day. A theme will bring the wall together: your family, a recent holiday, or all black and white.
Think about layout before you print anything. A typical picture wall mixes frame styles and sizes, so you need to settle the arrangement and the frames before you finalise the photos. Sometimes it's as simple as choosing a landscape photo over a portrait one.
If you have plenty of photos ready and can't choose between them, pick the frames first.
Choose your frames
The easiest route to a good picture wall is a multi-aperture picture frame: one frame with several windows, so it holds several photographs. Each opening may be framed individually or simply cut into the central mount.
We make multi-aperture frames to order. You choose the number of apertures and the size of each, so they fit your images. We can add secondary mounts to give each photo its own border, and there is a wide choice of mount colours and frame sizes and styles. It's quick, and ideal if you know exactly which images you want.
Individual frames take more work, but the result can be just as good. As with the photos, give them a theme:
- the same frame style in different sizes, or
- very different frames of a similar size.
Mix plain black, white or wooden frames in with more decorated ones. A couple of large feature frames with smaller, simpler ones around the edges works well. And keep your receipts and leave the frames in their packaging until you've made a final decision.
Plan the arrangement
Clear an area of floor, lay the frames out, still in their packaging, and move them around.
Rectangular frames in standard photo sizes can often be arranged as a neat square or rectangle. More irregular frames suit a looser arrangement. When in doubt, go for a rough eye shape: a cluster in the centre that tapers towards the edges, with the smaller frames at the far sides.
Once you're happy, finalise your photos to suit the sizes and layouts of the frames. Any frames you don't use can go back to the shop.
Hang it
Take it slowly and stick to your pattern. Hang the photos at eye level and use a tape measure to get the positions right. When you're finishing, ask someone to stand on the other side of the room and check that everything is straight.
We also supply hanging accessories such as tape, hooks and pins, and brass plates.