

A sunset is one of the most beautiful things in nature, and photographing one well is very satisfying. It can be tricky, but with a little knowledge anyone can do it, beginner or professional. Here is how.
Why sunsets are red
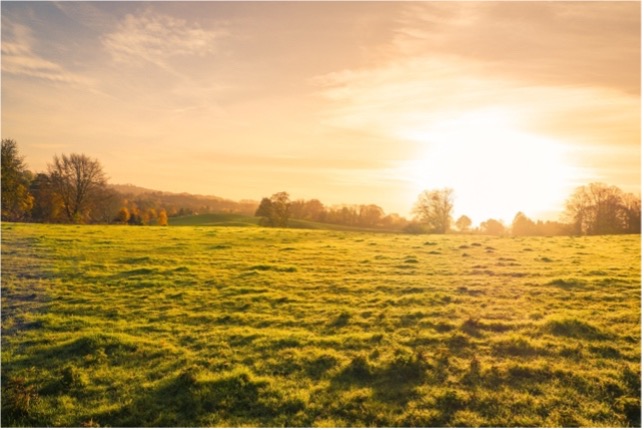
Sunlight is a mixture of colours, each with a different wavelength. As the light passes through the atmosphere, the shorter, blue wavelengths are scattered far more than the longer red, orange and yellow ones. That is why the sky looks blue in the daytime.
When the sun is low, its light has to pass through much more of the atmosphere to reach you. Most of the blue is scattered away on the journey, leaving the reds, oranges and yellows. So the sky fills with warm colour.
The ideal weather
The weather decides how good a sunset will be.
- Cloud. High, thin cloud is ideal. It catches the light from below and turns orange and pink. Low, thick cloud on the horizon blocks the sun and can spoil the show.
- Clear sky. A clear sky gives a bright sunset, but with nothing to catch the light it can look flat.
- Haze. A little dust or haze in the air deepens the reds, though too much makes the view murky.
Scout the location
Find a place with a clear view to the west and something interesting in the foreground, such as trees, buildings or water. Beaches, hills and city skylines are all popular.
Visit beforehand if you can, to see where the sun will go down and what might get in the way. The direction of sunset moves a long way along the horizon between summer and winter.
Choose the right time
The best light comes in the golden hour, the hour or so before the sun sets, when it is soft and warm. Do not pack up when the sun disappears. The colour in the sky is often strongest ten or twenty minutes afterwards.
A phone app, or a website such as timeanddate.com, will give you the time of sunset for your location. Arrive early, so that you can set up and try different settings and compositions before the best of it begins.
Compose the picture
Use a natural frame
Trees, buildings and arches make natural frames that add depth. Against the bright sky they become silhouettes, and a strong, simple shape works best.
Position the sun and the horizon
- Use the rule of thirds. Imagine the picture divided into thirds each way. Put the horizon on the upper or lower line, not across the middle, and the sun on one of the upright lines.
- Change your angle. A low viewpoint can be dramatic, especially with water or wet sand to reflect the sky.
- Use the foreground. A tree, a figure or a building gives the picture a subject besides the sun.
Editing
A little editing brings out the best in a sunset.
- Exposure. Lighten or darken the picture to bring out detail in the sky or the foreground.
- Crop. Trim to concentrate on the best part of the scene and to remove distractions.
- Healing tool. Remove small unwanted objects and blemishes.
- Vignette. Darkening the corners slightly draws the eye towards the sun.
Colour correction
- White balance. Cameras often try to 'correct' the warmth of a sunset. Adjust the white balance to put it back.
- Individual colours. Most editing programs let you alter the hue, saturation and brightness of each colour separately, to fine-tune the oranges and blues.
- Curves. The curves tool controls brightness and contrast, for a punchy look or a softer one.
The aim is to bring out the beauty that was there, not to invent a sunset that never happened. Keep it natural.
Frame it
A sunset you are proud of belongs on the wall. A white or off-white mount lets the colours glow, and a dark or natural wood frame sets them off.
EasyFrame makes a wide range of picture frames to measure, and with years of experience we can advise on the right frame for your photograph. Call us on 01234 856 501 or email sales@easyframe.co.uk. We are always happy to talk, whether or not you want to buy.